")
What Is Visual Inspection in Pharmaceutical Manufacturing?
Pharmaceutical visual inspection sounds straightforward until….. You actually have to build a qualified program to support it. At its core, visual inspection is the process of examining injectable drug products, typically vials, syringes, and IV bags, for visible particulates, container defects, and other nonconformities that could compromise patient safety. It is a GMP requirement. Full stop.
The regulatory drivers here are layered. The FDA’s 2021 guidance on Inspection of Injectable Products for Visible Particulates lays out a lifecycle approach to particulate control. USP <790> establishes the minimum enforceable expectations for 100% inspection of finished products, and USP <1790> provides best-practice recommendations for designing and qualifying the inspection process. EU Annex 1 adds another layer for manufacturers operating in European markets. Based on my experience working with pharmaceutical manufacturers across the industry, the companies that struggle most are the ones that treat visual inspection as an afterthought rather than a core quality process embedded from development through commercial production.
Overview of Pharmaceutical Visual Inspection Methods
When it comes to inspection methods, there are really three paths: manual visual inspection, semi-automated visual inspection, and fully automated visual inspection. Each has a role, and most manufacturers end up relying on more than one.
Manual Visual Inspection
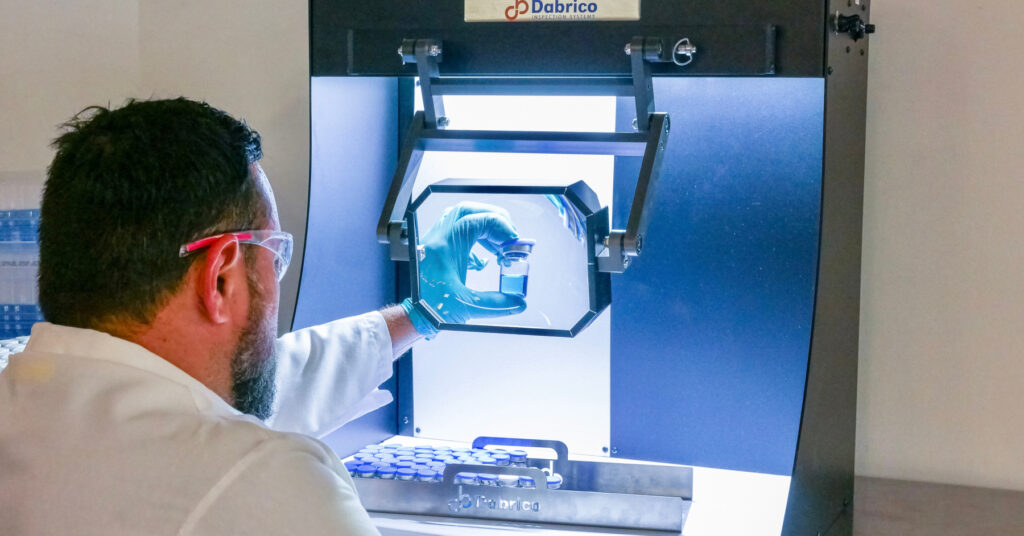
Manual visual inspection remains the most common method for 100% inspection of parenteral products—an inspector examines each container against black and white backgrounds under qualified lighting conditions, looking for particles, defects, and anything that shouldn’t be there. It’s entirely human-dependent, which means training, qualification, and fatigue management are everything.
Semi-Automated Visual Inspection
Semi-automated visual inspection sits in the middle. The machine handles the mechanical work—rotating the container at a constant, calibrated speed and moving it past the inspector on a belt—but a human still makes the detection call. It improves consistency and throughput over fully manual methods while still relying on trained inspectors, which means qualification of both the equipment parameters (vial-spin speed, belt speed) and the personnel is required.
Automated Visual Inspection
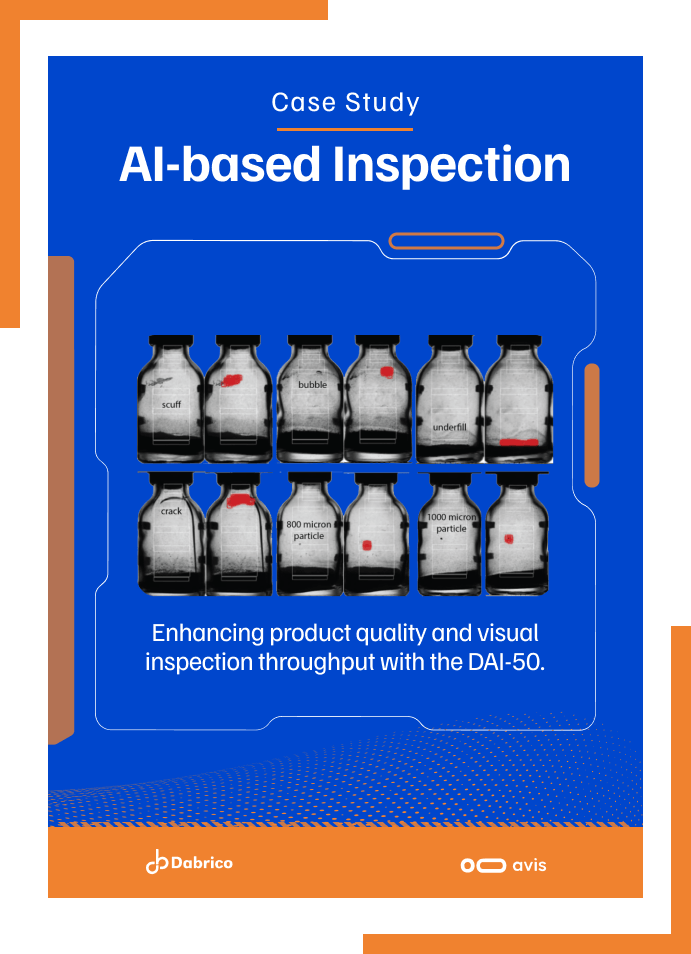
Fully automated visual inspection uses high-speed cameras, machine vision, and increasingly AI-driven detection to inspect containers at production speed with no human in the loop for the pass/reject decision. The throughput is significantly higher and the process isn’t subject to fatigue or mood. But here’s the catch—as USP <1790> makes clear, any alternative to manual visual inspection must demonstrate “equivalent or better performance when compared to manual visual inspection.” That equivalency is established through the Knapp test framework, which means your manual inspection process has to be strong for your automated qualification to hold up.
I have seen manufacturers invest heavily in automated equipment and then realize their manual baseline was weak, which undermined the entire validation. Choosing the right inspection method for your product type, whether clear solutions, suspensions, lyophilized vials, colored solutions, or powders, matters enormously. For a real-world example, our automated vial inspection case study follows a CMO that achieved 98% overall defect-detection accuracy when inspecting difficult powder-filled molded glass vials.
Breaking Down the Visual Inspection Process
The inspection process itself follows a defined sequence, and each step has to be documented and controlled. Here is how it typically flows:
- Incoming component inspection — examining vials, stoppers, and closures for contamination before they enter the fill line
- 100% visual inspection — every finished container is inspected against contrasting backgrounds for particulate matter, visible particulates, and container closure defects
- Reject analysis — categorizing and trending what was found, because your rejects tell you something about your process
- AQL sampling — pulling a statistical sample from accepted units to verify the batch meets acceptance quality limits
- Batch disposition — documenting everything and making the release decision
Detecting particulate matter, whether it’s glass fragments, rubber particles, fibers, or precipitated API, requires technique. Inspectors have to understand how particles behave—what settles, what floats, how viscous solutions differ from clear colorless ones. Manual inspectors need to know what to look for and how to find it.
Inspector Qualification: Training Your Team to a Standard
This is where programs either hold together or fall apart. Every person who inspects containers, whether they’re on the production line doing 100% inspection or in QC running AQLs, needs to be qualified. That means documented training on GMPs, SOPs for the inspection process, and hands-on coaching with qualified trainers before anyone inspects independently.
Building a pharmaceutical training program for inspectors means developing SOPs that cover booth setup, lighting verification, inspection technique by product type, defect classification (critical, major, minor), and documentation.
The Challenge Test: The Foundation of Visual Inspection Qualification
The challenge test is how you prove an inspector can actually detect defects under real-world conditions. It is the foundation of inspection qualification.
Here is how it works. Quality assurance prepares a set of vials, a mix of conforming units and units containing known defects, such as particles, fibers, and container closure issues. Defects should not exceed 10–20% of the set, and the identity of the defective units must be masked from the inspector to prevent bias.
Before you build your challenge test sets, you run a threshold study. This is where you take candidate defect samples, have your reference inspectors examine them repeatedly, and determine which samples achieve at least a 70% probability of detection. Those become your qualification set. This approach, grounded in the Knapp & Kushner methodology described in USP <1790>, ensures that your test equipment and defect standards are statistically sound rather than arbitrary.
One thing I want to be direct about: setting a 100% detection criterion for critical defects during the challenge test sounds reassuring, but as research in the field has demonstrated, it can actually introduce systemic bias—pushing organizations to only include obvious defects in their qualification sets and creating overconfidence in the inspection process as a safety net. The goal of qualification is to validate that the inspector has the proper gestures, concentration, and pacing to consistently detect defects across all classifications.
Equipment Qualification for Visual Inspection Systems
Whether you’re qualifying a manual inspection booth or an automated visual inspection system, the principles of IQ, OQ, and PQ apply. For manual stations, that means qualifying light intensity, background contrast, and ergonomic setup. For automated equipment, it means full validation demonstrating detection accuracy meets or exceeds human capability.
Automated systems are typically qualified using the Knapp test against trained human inspectors, with results determining whether the system can be validated for production use. One of the key challenges with traditional AVI platforms is the time required to develop a qualification-ready inspection recipe, which can take months of model engineering and dataset preparation.
Newer approaches are reducing that burden. Systems like the DAI-50 can generate a qualification-ready inspection recipe in under an hour, significantly compressing the timeline from setup to validation while maintaining alignment with GMP expectations.
Ongoing Monitoring, Requalification, and Continuous Improvement
Qualification isn’t a one-time event. The FDA expects manufacturers to monitor performance continuously, trend their data, and react when something shifts.
Key indicators to track:
- Reject rates by defect class
- Inspector performance over time
- Equipment deviations and breakdowns
- AQL results and batch disposition trends
When reject rates spike or atypical particles show up, an investigation is required. The FDA guidance is explicit: if a flaw is found, redesign the product or process. Don’t just adjust the inspection parameters to make the numbers work.
Common gaps found during FDA inspections include failing to investigate high reject rates, not requiring proper particle identification, reinspecting batches without scientific justification, and operators who weren’t fully qualified or lacked documented training on all known defects.
These are not merely theoretical compliance risks. FDA investigators may document visual inspection deficiencies as observations on Form FDA 483, particularly when a manufacturer cannot demonstrate adequate procedures, investigations, training, or control over its inspection program.
Building a Compliant Visual Inspection Qualification Program
Pulling all of this together, here is what inspection readiness looks like:
- Documented SOPs for every element of the visual inspection process—from booth setup to batch disposition
- A validated pharmaceutical training and qualification program for all inspection personnel
- Statistically sound challenge test sets built from threshold studies, not arbitrary defect standards
- Qualified test equipment, whether manual booths or automated systems, with current calibration records
- Ongoing trending and monitoring with defined alert and action limits
- A clear investigation and CAPA process triggered by reject rate anomalies, AQL failures, or atypical particles
- Annual requalification for inspectors and periodic revalidation for automated equipment

")
")
")
")
")

")
")


